Creating a blog post outline is essential for writing clear, engaging, and well-structured content. It allows you to organize your ideas, stay focused, and avoid rambling off-topic.
Plus, it’s super important if you hire someone else to write content for you. Without a clear blog post layout, your content writer wouldn’t be on the same page as you.
Needless to say, learning how to create a solid blog post structure will save you time and improve the flow of your posts.
So, let’s dive into how you can create an effective blog post outline that sets you up for success.
Disclaimer: If you buy any products through links on this site, I may earn a commission. But it doesn't make any difference to your cost, and it helps me keep this blog running. So you could always read my articles for free.
What is a blog post outline?
A blog post outline is a simple framework that guides your writing, helping you organize your thoughts before you start drafting a blog post.
It acts like a blueprint, allowing you to structure your post logically so that each section flows smoothly into the next.
By outlining key points, subheadings, and important takeaways, you ensure that your content is cohesive and easy to follow.

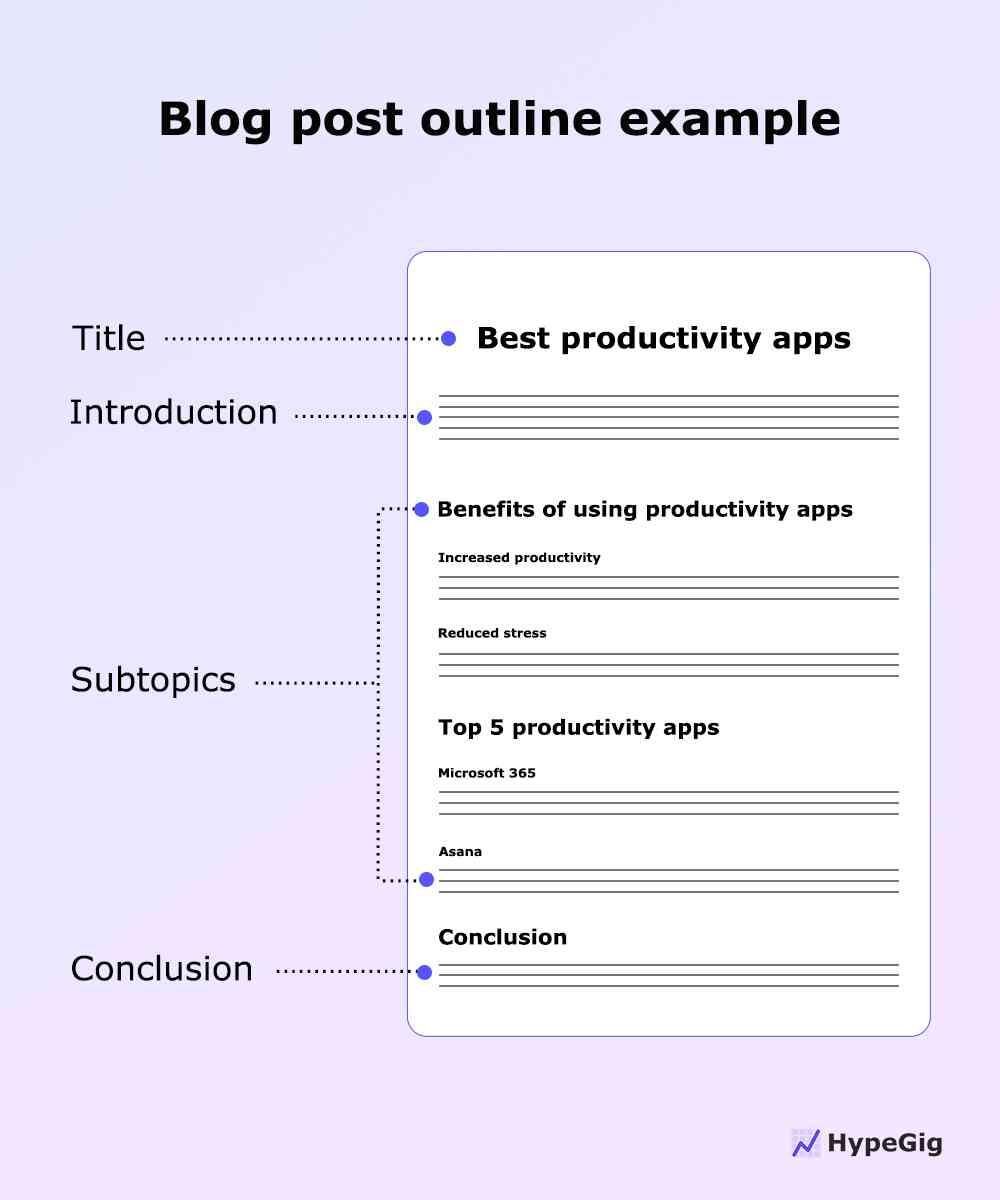
For example, if you’re writing a blog post on “Best Productivity Apps,” a basic outline might look like this:
- Introduction: Briefly introduce the importance of productivity apps.
- Section 1: Benefits of Using Productivity Apps: Discuss key advantages.
- Section 2: Top 5 Productivity Apps: List apps, describe features, and include pros/cons.
- Conclusion: Summarize key points and recommend the best app.
However, this is an oversimplified example. It’s better if you have a blog post layout that’s even more detailed. And that’s what I’ll discuss in this guide.
By using an outline, you can focus on writing with clarity and purpose, making your post more engaging and easier to follow.
Why write a blog post outline?
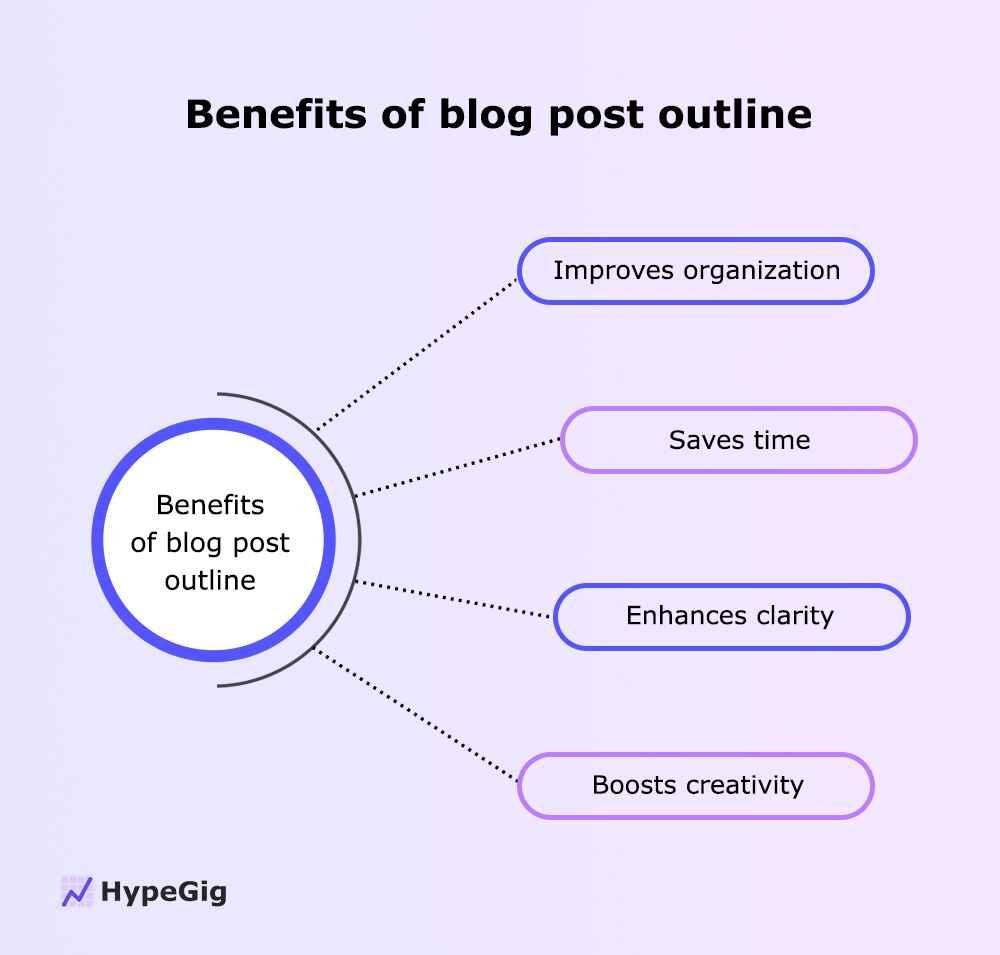
Think of your blog post outline as the roadmap that guides your writing process, ensuring you hit all the key points while keeping your readers hooked from start to finish. Here are its key benefits:

Improves organization
Creating a blog post outline helps you organize your ideas clearly. You can structure your post logically, ensuring each section flows naturally into the next.
This prevents your content from feeling scattered and helps you stay on your key message.
Saves time
When you create a blog post structure first, you save time during the writing process. With your main points already mapped out, you won’t get stuck trying to figure out what to say next.
This also speeds up editing since your content will already follow a clear structure.
Enhances clarity
Outlining allows you to think through your points in advance, making it easier to communicate your message clearly. You avoid rambling or going off-topic, which helps your readers understand and engage with your content.
Boosts creativity
With a well-organized outline, you can focus on developing each section more creatively. It gives you the freedom to dive deeper into each point without worrying about losing track of your overall flow.
Steps to build a blog post outline
Building a blog post outline is a straightforward process that ensures your writing stays organized and focused. It’s about breaking down your main ideas into manageable parts before diving into the full post.
Here’s a simple step-by-step guide to help you create an effective blog post structure:
Choose your topic
The first step in building a blog post outline is to decide on a clear, specific topic. You want to choose something that interests your audience and aligns with your blog’s niche.
Your main idea sets the foundation for your entire post. So, pick a topic you can confidently write about.

For example, if your blog focuses on personal productivity, you might choose a topic like “How to set effective daily goals.” This topic is specific, relevant to your audience, and offers practical value.
What you should not do is target overly broad topics like “Productivity Tips” as they can make it harder to focus your outline and your writing.
By narrowing down your topic at the start, you give yourself a clear direction and make it easier to create a focused and organized outline. This step is crucial for producing content that resonates with your readers.
Related: Best ways to get content ideas
Define your main message or goal
Once you’ve chosen your topic, define the main message or goal of your blog post. This step helps you clarify what you want readers to take away after reading your post. Having a clear goal ensures your content stays focused and delivers value.
For example, if your topic is “How to set effective daily goals,” your main message might be: “You can boost your productivity by setting clear, actionable daily goals that align with your long-term objectives.”
Why do this? A message gives you a clear direction for the post, ensuring each section supports that central idea.
By defining your main message, you avoid the trap of going off on tangents or losing sight of your core purpose. It also helps your readers stay engaged, as they know exactly what they’ll gain from reading your post.
Brainstorm key points you want to cover
Now that you have your topic and main message, it’s time to brainstorm the key points you want to include in your blog post layout. Think about the major ideas or steps that will support your main message.
This helps you break your topic into smaller, manageable sections, making your blog post outline more organized and comprehensive.
For example, if your topic is “How to set effective daily goals” and your main message is about boosting productivity, some key points might include:
- Importance of prioritization in goal-setting.
- How to break down larger goals into daily tasks.
- Tools to help you track and manage daily goals.
- Tips for staying consistent and accountable.
By identifying these key points, you create a roadmap for your post, ensuring that each section adds value and supports your overall goal.
This step is all about gathering the essential content that will make your post informative and actionable.
Organize your key points into sections
Once you’ve brainstormed your key points, the next step is to organize them into clear sections.
This helps you create a logical flow for your post, making it easier for readers to follow along.
To shape your blog post structure, group related ideas together and decide on the order in which you’ll present them.
For example, if you’re writing on “How to set effective daily goals,” you might organize your key points like this:
- Introduction: Explain the importance of setting daily goals for productivity.
- Why Prioritization Matters: Discuss why prioritizing tasks helps focus your day.
- Breaking Down Large Goals: Show how to turn long-term goals into daily tasks.
- Tools for Goal-Tracking: Introduce apps or methods to track progress.
- Staying Consistent: Offer tips for maintaining daily goal-setting habits.
By organizing your points into sections, you create a structured outline that guides you through the writing process and helps your readers easily absorb the information.
Related: How long should a blog post be?
Add subheadings for each section
After organizing your key points into sections, you should add clear and engaging subheadings. Subheadings help break up your post, making it easier to read and skim.
They also give readers a preview of what each section covers, keeping them interested and guiding them through the post.
For example, if you’re writing a post on “How to Set Effective Daily Goals,” your subheadings might look like this:
- Introduction: Why Daily Goals Are Key to Productivity
- Prioritize Your Tasks for Maximum Focus
- Turn Long-Term Goals into Daily Action Steps
- Best Tools for Tracking and Managing Daily Goals
- Stay Consistent with These Simple Strategies
Subheadings should be clear, action-oriented, and directly related to the content of each section.
This not only improves readability but also helps with SEO, as readers and search engines both appreciate well-structured content.
Related: The ultimate guide to blog SEO
By using strong subheadings, you keep your audience engaged and make your post more scannable.
Include bullet points or notes for each section
Now that you’ve added subheadings, the next step is to flesh out your blog post outline by adding bullet points or notes under each section.
These points help you capture the specific details or ideas you want to cover without writing out full paragraphs yet. This step helps you stay focused on key information and makes writing easier when you’re ready to expand.
For example, if one of your subheadings is “Prioritize Your Tasks for Maximum Focus,” your bullet points might look like this:
- Identify high-priority tasks first.
- Use the Eisenhower Matrix to categorize tasks (urgent vs. important).
- Limit your daily goals to 3–5 tasks to avoid overwhelm.
- Focus on the most impactful task first (MIT—Most Important Task).
By using bullet points or short notes in your blog post layout, you clarify the exact content you’ll include in each section, giving yourself a roadmap to follow. This also helps you avoid missing key ideas when you start writing.
Review and adjust your outline for flow and clarity
After you’ve added bullet points or notes for each section, it’s important to review and adjust your outline to ensure it flows logically and clearly.
This step involves checking the overall structure to make sure each section transitions smoothly into the next and that your points support your main message effectively.
For example, if you’re writing a post on “How to Set Effective Daily Goals,” review your outline and ask yourself:
- Does the introduction set up the topic effectively?
- Do the sections on prioritization and task breakdown logically build on each other?
- Are the tips for tools and consistency placed at appropriate points in the post?
If you find that one section feels out of place or some points are missing, adjust your outline accordingly. You might rearrange sections for better flow or add additional bullet points to cover important details.
This review process helps ensure your final blog post will be coherent, engaging, and easy for your readers to follow.
Final thoughts on blog post outline
Creating a blog post outline is a crucial step in writing effective and engaging content.
By defining your topic, main message, and key points, and then organizing them into clear sections with subheadings and detailed notes, you set yourself up for a smoother writing process.
This outline acts as a roadmap, helping you stay focused and ensuring your post is well-structured and coherent.
As you refine your outline, you’ll find it easier to write a blog post that captures your readers’ attention and delivers your message clearly.
Embrace the outlining process, and you’ll likely see improvements in both the quality and efficiency of your writing.
Did I miss anything? Did you try these tips? Do you have any questions or comments? Share your thoughts below in the comments section.


